|
|
Bob's Shop Notes: |
|
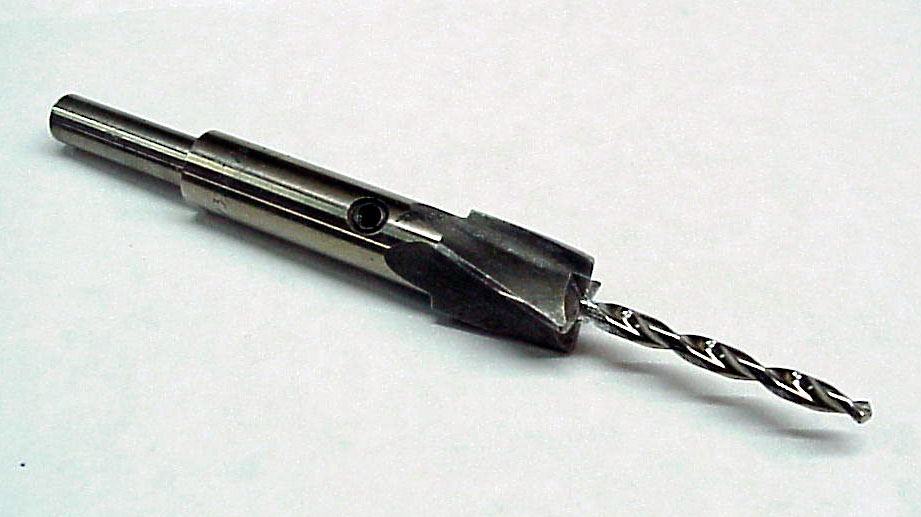
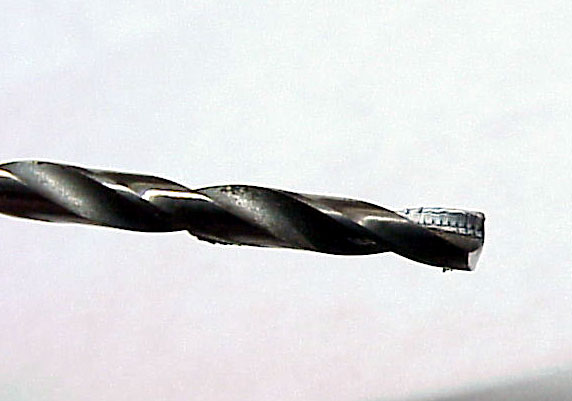
Step 1 . . .Tools needed: (1) A 15/32" spotfacer fitted with 1/8" drill bit as shown here (check with local supplier of machine shop tools. Click here for larger image. (2) Modified #30 drill. Grind the end flat. Then grind a relief behind the cutting edges so that when the bit contacts the metal, only the cutting edges touch. Click here for larger image.
|
Step 2 . . .
Step 3 . . .
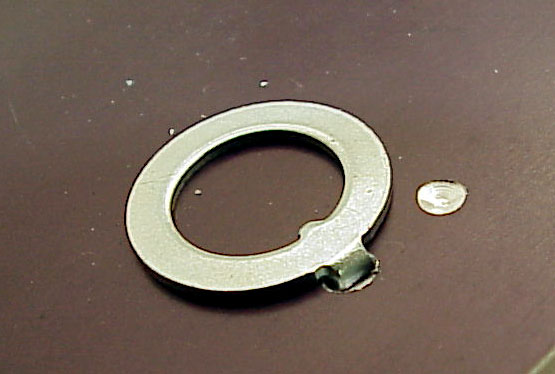
Step 4 . . .The shallow blind hole and shortened locking tab will secure your switch without blemishing the face of your switch panel. This technique works best with panels of 0.050" thickness or more.
|
|
 Click here to contact Bob at AeroElectric Connection Click here to contact Bob at AeroElectric Connection |